Thursday, November 17, 2011

Tying Utah's Ultra Egg


First let me say that I love the blood dot tied by Jeff Blood. I give him unlimited thanks for this egg technique. As soon as i saw it i was hooked, and it catches fish like no other ta boot!. But,  I didnt care particularly for how it looks while IN the water. Wet out of the it looks awesome. But in the water is another story(not that the fish care),


  I am always tinkering around with techniques, and materials. I wanted to make an egg that not only looked good in the vice,hand and fly bin, I wanted to look good in the water as well.   And thus the Utah's Ultra egg was born. I take the blood dot technique and well lets say make it more complicated.   I also use a different material for the egg.  I will be fishing this egg intensively over the up coming weeks. I will keep the blog updated.

Utah's Ultra Egg Materials
Hook- Your favorite egg hook. Mine are daiichi 1510 or 1150
Thread- White uni-8/0
Egg- White or pale yellow acrylic yarn
Dot/yolk- steelhead orange or any color you wish of glo-bug yarn. I use the Micro yarn. But you can just split the regular.

Lets twist one up.

Hook in vise start your thread bring it back to the bend

Split your 4ply acrylic yarn, Brush out 2 strands, tie them in on top.


Brush out your two remaining strands are top them in on top as well.

Now we are going to do the Blood dot technique but we are going to pay close attention to detail. Make your first loop. Wrap your thread back over the loop to push it back over the bend.

Make a larger second loop, doing the same as with the first. Tie it down, but be sure to only take a couple of wraps, one in front of the other.. You want about 1mm or 2 gap for the yolk, depending on the size egg your tying.

Take a stand of micro glo bug yarn, loop it around your thread and pinch. .

Slide the yarn onto the shank, wrap very tight as it goes on, then take one wrap in front and behind, advance the thread in front of both yarns and lift up on your egg yarn(not glo-bug) and flattened the yarn as your wrap back to snug it up against the glo-bug yarn

Make a loop. This one should be as large as your last loop. (the size is what makes the end size of the egg. Small loops make small eggs, large loops, large eggs) Wrap back securing the loop and to push the loop over the glo yarn

Make another loop just a touch smaller then the last and repeat the same process.

Make a smaller loop, repeat the same process

Snip your tag end, Snip your yolk, make to cut it short.

take your fingers and brush the loops back and forth, rough them up a bit.

Pull your yarn over the top and around the sides, take one turn to hold then gently pull on the yarn to tighten it up. Then take alternating turns on and off to securely tie it in.

Tie of the yarn, whip finish, and snip the tag on an angle. The ultra egg is complete. 


As you can see, the egg keeps a nice shape IN the water.

Utah's Ultra Egg. 
 h

Tuesday, November 15, 2011

Jeff Blood's Blood dot

By request from George over at wildfly365 I did a video of Jeff Blood's Blood dot fly. It is super effective. Twist them up in sizes 8-18. Fish them for trout. The big chrome love'em. Even the wild browns love it. Its a great pattern that should be every nymph fisherman box.  Twist them up in different colors.  Egg with steelhead orange is a good one. The one in the video is salmon egg with a flame dot.  Use glo-bug yarn for these guys. The key and most important part about the fly is translucency. So keep it sparse. 1/4 and 1/8 that yarn!  Enjoy


Monday, November 14, 2011

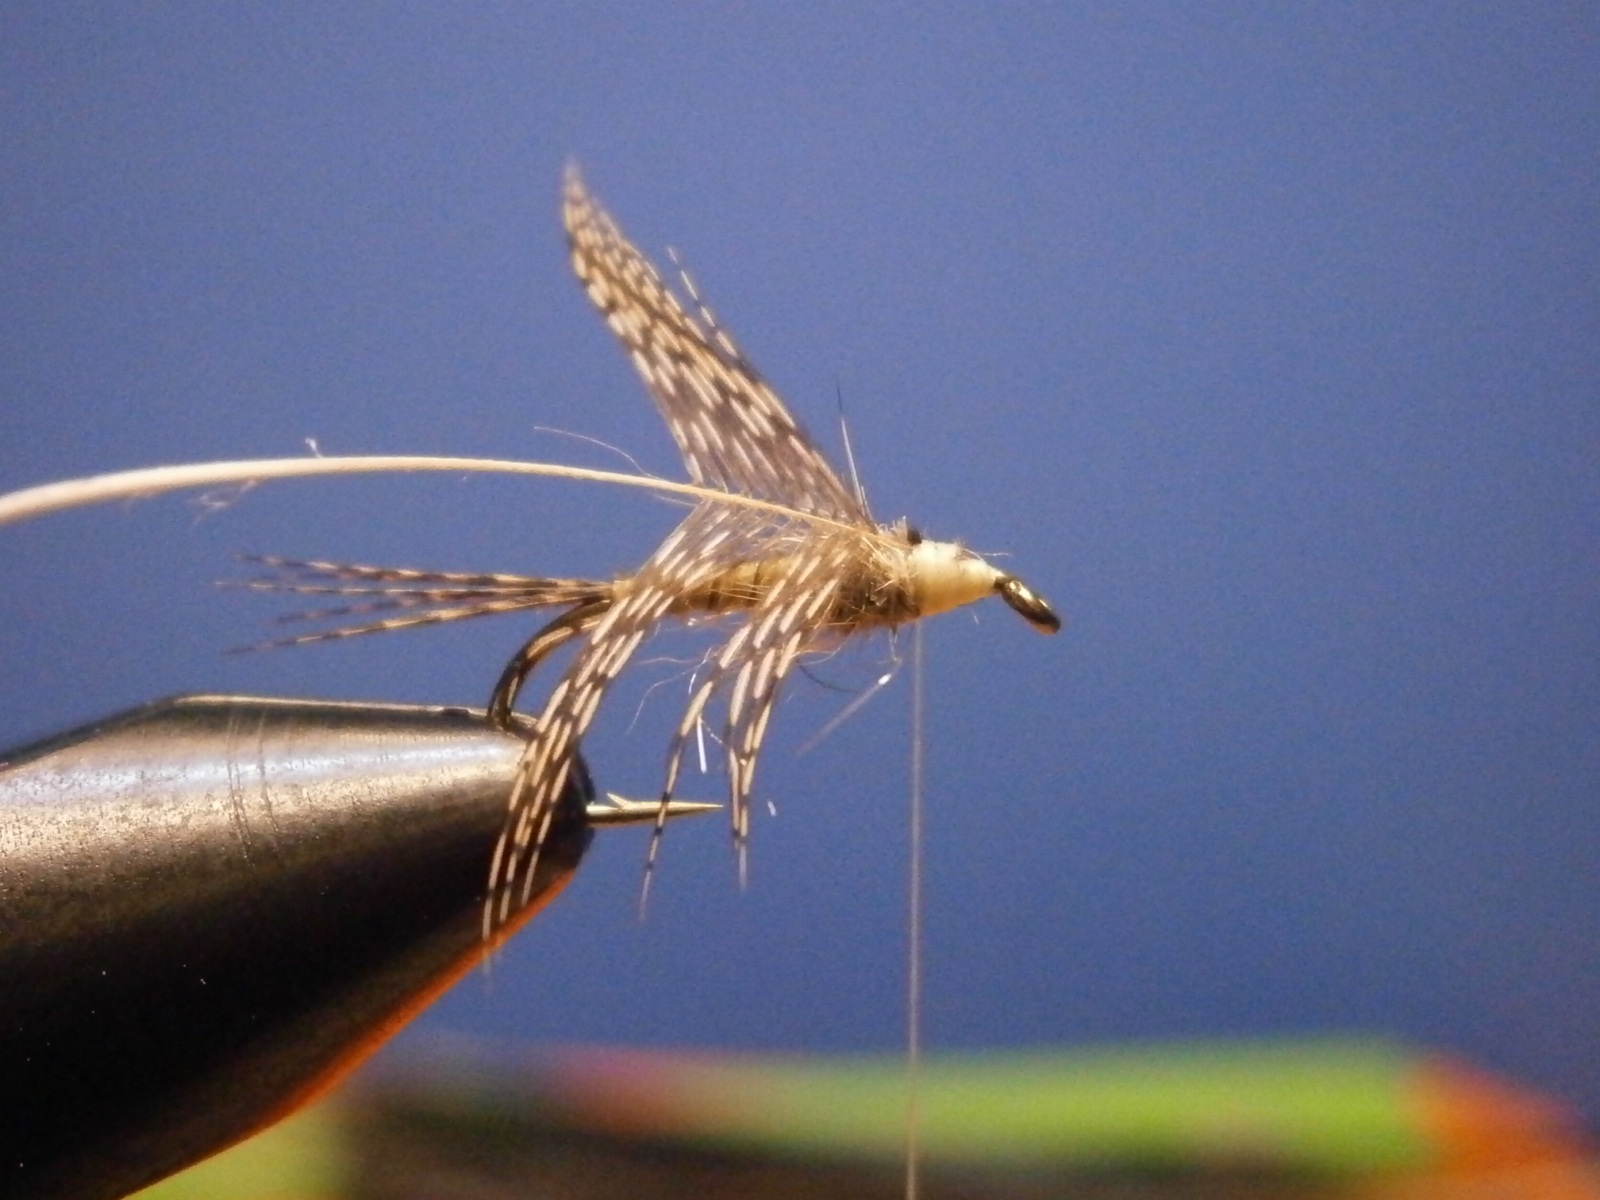
Biot emerger softy (sulpher) tutorial

A biot soft hackle, done up in sulpher colors. You can vary the colors of this tie to imitate just about any mayfly. I have great success with this color combo, when sulphers are hatching. It is a fairly easy tie. In this tutorial I will show you how to get a nice taper to a biot body.  Lets tie one on!


Hook-daiichi 1550, Thread- montana fly co cream 8/0, Biot is a turkey biot (from hareline dyed "bwo")  Hackle-dark partridge(back feather), Tail- bronze mallard flank, dubbin- U.V. High Test.

Start your thread a hook eye back from the hook eye and take it back to the rear

Tie in the bronze mallard. Keep it kinda sparse. Dont trim the butt ends, rather wrap them forward on top of the shank. Be sure they dont roll. Stop at the 2/3s point. This is where the "thorax" will start.

Fold the mallard back over the top of the hook shank and wrap back over it. To the half way point on the shank. Trim the mallard on an angle.

Wrap the thread back to a few wraps shy of the tail tie in point.

Now wrap your thread forward to a few wraps shy of the hook eye, and then bring it back. Be sure to make nice touching thread wraps. This step is to even out the taper.

Tie in your biot on top of the shank. Tie it with the convex side up. 


Wrap your biot forward. Wrap so the leading edges touch. Tie off in your thorax area.

Dub the thorax

I like to then rough up the dubbin a bit. Stroking the fibers back.

Tie in your dark partridge by the tip, and then wind it on. One complete turn is plenty.

Whip finish. Hit the head with your favorite cement to give it a nice shine. And you now have yourself a great emerger.

A backside pic. I like the look of it.

Friday, November 11, 2011

Tying up the partridge and biot tutorial.


I twist up these little softies for the winter months, they produce well. I like to fish them behind the golden oldie.  In the tutorial i will show you a way to use up those big partridge feathers you have. The fly i tie is a size 16, and the hackle i use is about an 8. 

The biots I use for them can be acquired from a craft store or from where i get them, Wal-mart.  They are very cheap and you get tons of biots.  The colors are very dark and vibrant. You get 5 different colors, red, blue/violet, green, orange, and yellow.  I believe the feathers are from ducks, what ever they are they are point feathers with biots.  The biots are rather small and short, so small flies is where these guys shine.


Lets get started tying one. For this one I will tie up a yellow.
Hook in vise, Start your thread, lay down a nice thread base back to just beyond the point

Get yourself your biot. With the feathers the longest biot are located roughly in the middle. Take a look at the none biot side. It is almost a mirror image of the biots. Where this side is longest, the biots will be as well.

Tie your biot on the top of the hook shank, with the concave side up. Biot tips are brittle if they are died to this degree,(you can soften them by soaking them in water before you tie, A good 15min soak will make them very pliable) So be sure, if tying dry to tie it in a little was up on the biot. Bring your tying thread forward to about a hook eye and half back from the eye

Wrap you biot, touching turns forward to your tying thread. If you wrap the same as your thread you will get the raised rib effect, the opposite way will result in the striped rib effect.  Play around see which you prefer.  Tie down the biot and trim the excess.

Dub a small thorax area.

Select a partridge feather, and strip off the fluff. Then pinch the tip and stroke the barbs back to expose the tip. Then snip it out.  Remove any extra hackle barbs you dont want on the fly. Your basically selecting how much hackle you would like the fly to have.

Measure your hackle length, You can make it as long or as short as you desire. 

Once you decide what length you want hold the middle over the top of the hook shank, and pinch the hackle barbs to each side. Take one loose turn over the partridge. Tighten the wrap, letting go of the partridge as you tighten.

The barbs will spin around the shank, you can work them into position with your finger nail as well.  Once your happy, you can then take a few tight wraps to secure the hackle.  I like to go three wraps on top of the hackle butt end, and then lift it up and do two wraps on the shank. Clip off the butt end of the hackle.

Whip yourself a nice head and snip your thread.

Give the head a good coating of cement if you desire. You now have a partridge and biot, which trout cant refuse.

Here are some other flies tied from using the package of feathers.


Wednesday, November 9, 2011

Captain America

Captain America Softy.

 This is a soft hackle I whipped up a while ago. It works well in the fall and winter.  Enjoy

Materials
Hook- Daiichi 1560
Thread- Pearsall gossamar silk thread- Red
Rib- Utc ultra wire, small, blue
Thorax- white super fine
Hackle- White hen neck.

Image
Start your thread, Cut your tag end off.

Image
Tie in your wire where you cut off your thread, and wrap back touching turns, tying in the wire. Stop either at the point or the barb.

Image
Bring your thread back up. Touching turns. Stop about a hook eye and a half back from the eye

Image
Rib, Bring your wire up, counter wrapping the thread. Nice open even turns. Tie of the wire and bend,and break it off.

Image
Dub the thorax. Dont dub to much. Just enough to cause the hackles stand up against.

Image
Once you have finished dubbin, Tie in your white hen naeck hackle by the butt.

Image
Wrap your hackle. Tie it off, clip the excess and whip finish. Give the head a cementing . This one pictured has only one and half turns of hackle.

Let the Cap, save your next fishing adventure! lol.
I hope you all enjoyed.

Tight Ties
Johnny Utah.

Sunday, November 6, 2011

Trout crack

The trout crack was devolved by John Wilson, A pretty famous guide on the White river in AR.  It is deadly fished as a dropper.  It works wonders on the limestone streams, just be sure to tie it small for those streams.  I have found that sizes 16-24 are very effective.   So here is a video, Enjoy.

Spectra Debora Aka the rainbow devil


This is my Spectra Debora.

Saturday, November 5, 2011

The Atomic Rock Worm

I have had some great success  as of late on this pattern. I devised this fly one evening when i was playing around with my mp bobbin and mp magic tool. The hook is daiichi 1550. The body consist of mirage opal tinsel ribbed with chartreuse v rib.  The hackle collar is black cdc dun mp style.  The fly has also been getting attention on the web and i had an inquire about it so i made a video. Enjoy.

Wednesday, November 2, 2011

Partridge Skins and a fall secret weapon


I just want to let everyone in on this fellow i found. I have been buying skins off of him for over 4 years now and when i say Premo quality, the premo is platinum with diamonds. Feathers are in perfect condition and have excellent markings on them.    I have well over 10 partridge skins from him and everyone is beautiful. His duck skins are premo as well.


On the right is a 2duckchuck skin and on the left a hareline grade 1. In all fairness i have tied many flies off the hareline skin. But the size difference speaks for itself.  Plus with the 2duckchuck skins,  I have used almost 2 skins so far and i have found a mere 2 broken feathers. The hareline, i lost count.
Check him out here.
Premo Partridge.

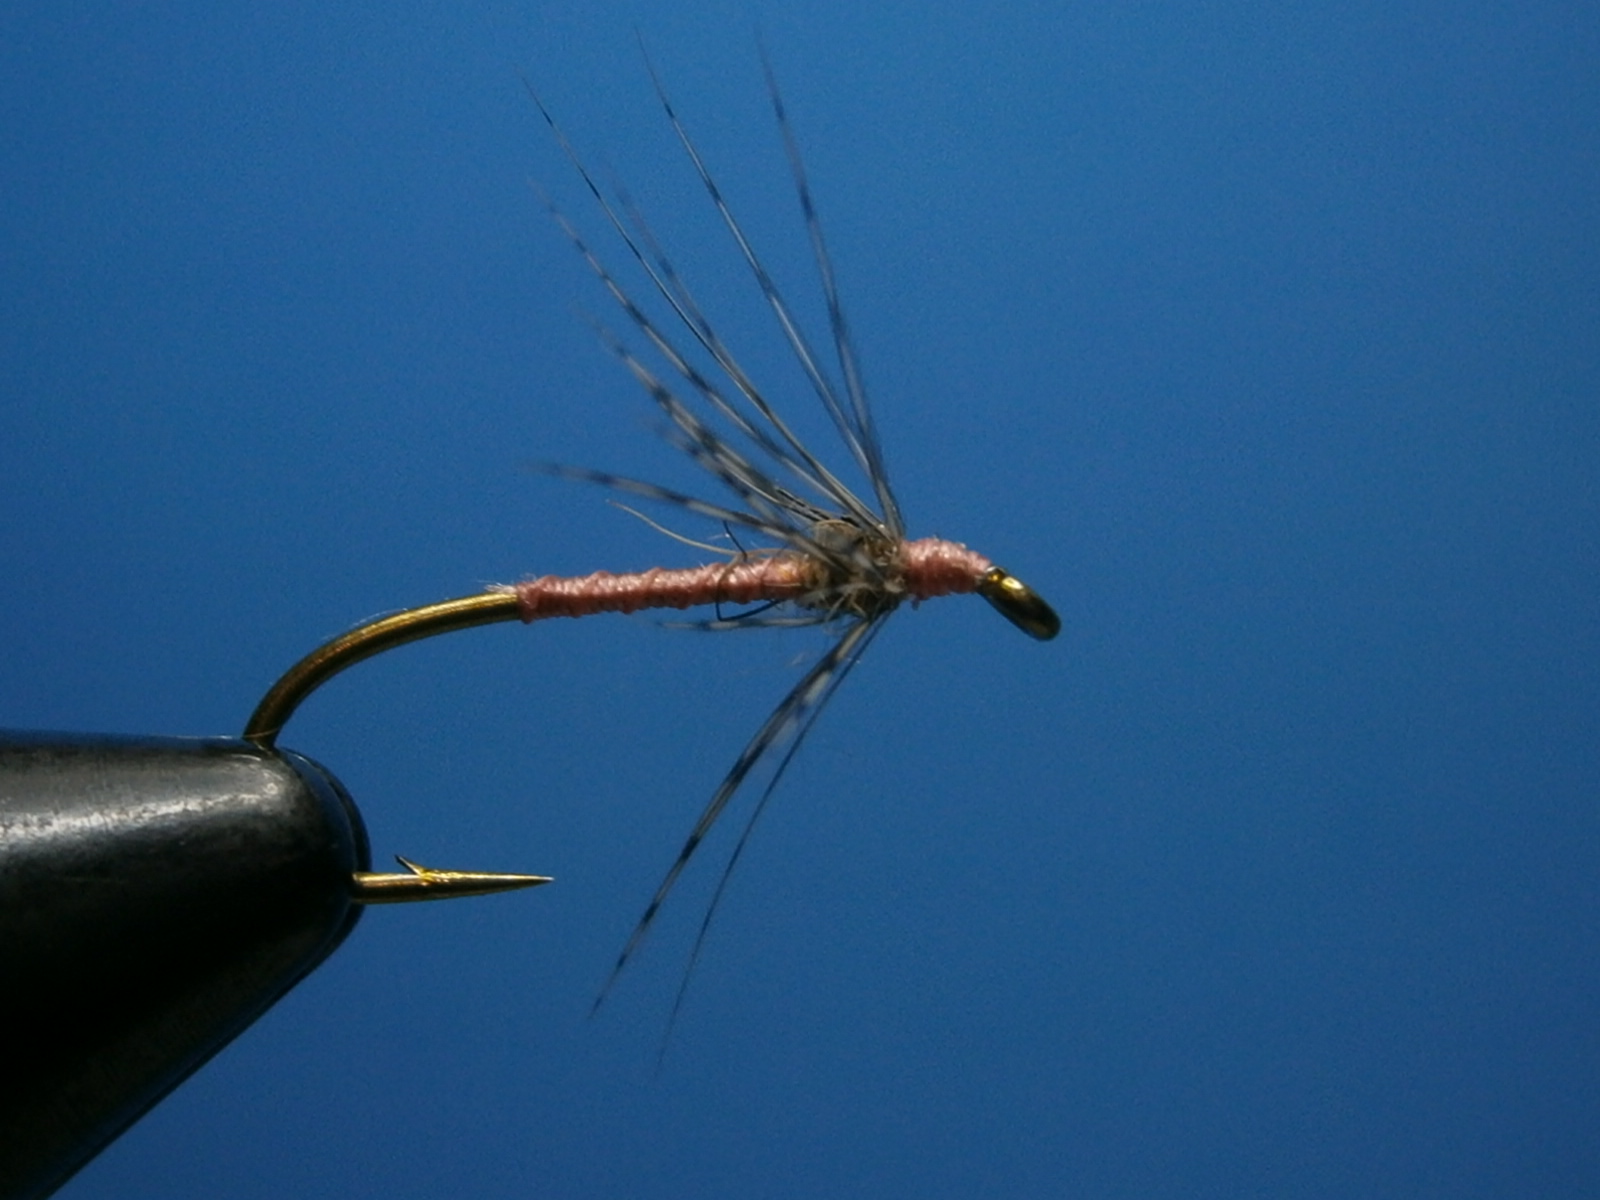
 My secret fall weapon. A simple north country spider in pink.   The thread is pink silk, I really like the fishhawk pink silk which is used here.  The hook is a daiichi. The thorax dub is u.v. high test. And the hackle is 2duckchuck partridge.

I want to Thank everyone who follows my blog and takes the time to read it.  I hope you all enjoy my 100th post.