Tuesday, December 6, 2011

U.V. High Test Hare's Ear

pearl, black, chartreuse, and pink

The U.V. High Test hares ear, is my hares ear tie.  This is my lead  fly when i cant use the oldie due to the oldies weight.  It produces quite well. I have posted about in my fishing reports.  I use my u.v. high test blend for the dub, thus the name.

 I like to tie them with brown partridge legs for color contrast. But regular partridge works well also.  The wing case is Flat diamond braid. The black works particularly well. I also do them with pearl, chartreuse, and pink wing cases.  I coat the wing case with either Loons U.V. fly finish, or I use Aleene's Fabric fusion.  The rib is a small holographic gold tinsel, and a utc extra small wire.  For the tails i use wood duck but sometimes i use mallard. Bronze is nice because it complements the legs.  The fly holds up extremely well fish after fish.

 I am a Daiichi hook fan, and have been for time. I recently picked up sponsor for my blog. J.W. Trout.  He has fantastic deals on Daiichi hooks. Click on his link to the right and check out the savings.  For my U.V. high test hares ear I like the 1550 or the 1560.


Lets twist one up!


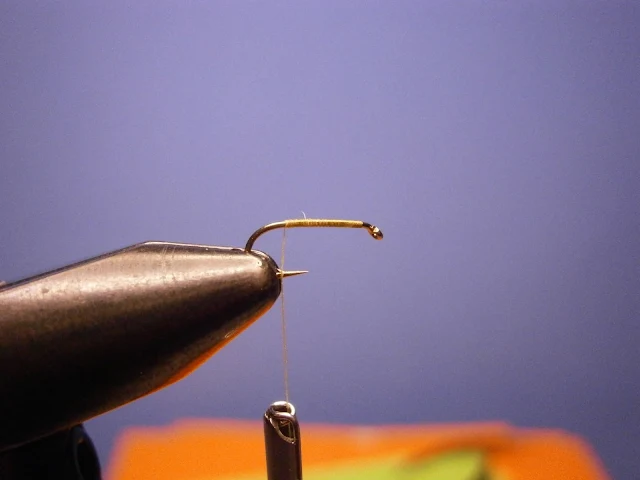
Bead on hook, 5-7 wraps of .015 lead pushed up behind the bead. Start the thread and run it back to about the barb. Get a small clump of wood duck flank.

Tie in the tail

Tie in the tinsel with one wrap

Tie in the gold wire and bring the thread to the bead, tying in the tail, tinsel, and wire. Bring the thread back down to just before the tail tie in point.

Dub the abdomen, Dub tightly, and make a nice carrot shape.

Bring the tinsel up through, nice evenly spaced turns.

Bring the wire up, wrap it right on top of the tinsel.

Tie in the diamond braid on top of the hook, bring the it back to about half way on the shank.

Dub the thorax, Dub loosely so it can be brushed out easier.

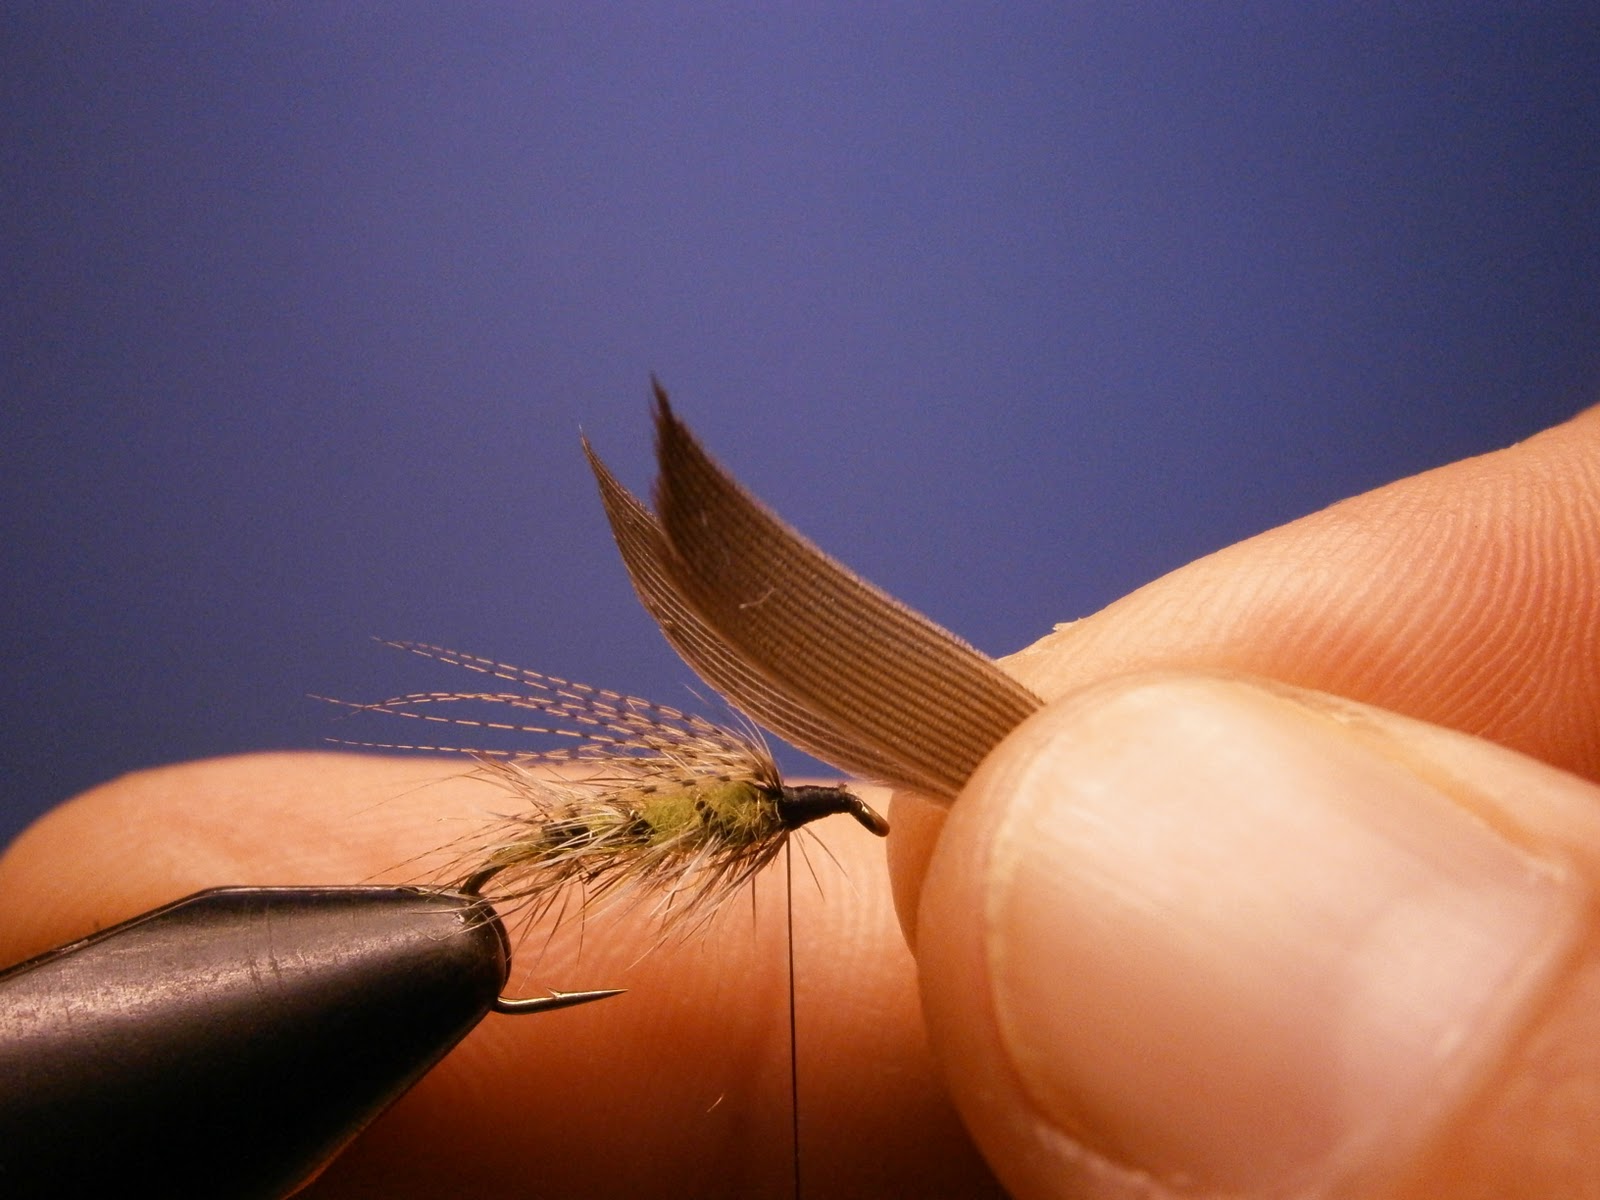
Get a partridge feather and cut the tip out. This is great for burning up those big partridge feathers.
Bring the feather so the end are on both sides of the fly, check the length, i like them to be to about the barb, any shorter and they just get caught up in the shaggy dubbing. Pinch them at the length, and take a few tight wraps over the butt end.

Monday, December 5, 2011

Galloup's cripple Tutorial


 The Galloup's cripple was designed to show the radius of the natural and to show a single wing. It has great imprint on the water. Kelly Galloup is the creator and you can find out more about the pattern in his book Cripples and Spinners. It is an excellent book, I highly recommend it to anyone who likes to match the hatch. 
Biot and cdc
 I have used this pattern on several hatches and it works very well.  There are several variations to the fly. The original is done with dubbed body and high-vis(z-lon) for the wing. It is also done with a biot body and a cdc wing.  All variation are effective. I like the dubbed bodies and i like to do a snowshoe wing. I do tie and fish the z-lon winged often as well and the biot and cdc.
           

Lets twist one up
Materials- This one is my bwo recipe.
Hook- daiichi 1170 Good deals on these from my sponsor. check him out.
Thread-8/0 uni light olive
Thread abdomen, dubbed thorax, with grey z-lon
Tail- dun hackle fibers
Abdomen- Blue-dun superfine
Wing- Grey z-lon.
Thorax-blue dun/olive brown superF
 Hackle- Dun rooster **2x over sized
                                                                                                      

Bend your hook shank like so. Do it with your jaws of your vise open. Put a nice even bend in it. Dont put a tight bend.

Start the thread and taking touching turns back to the barb.


Get yourself some hackle fibers, take note of the way they naturally curved. Keep them in order.

Measure the tales,  they  should be equal to the hook shank length. Take one turn over the cluster and one turn under, then a turn over. This will splay the tails and raise them up.

Dub the abdomen. The trick here is to use as least amount of dub as possible. You want the olive thread to bleed through when wet.

Tie in a length of Z-lon for the wing. Tie in on like you would spinner wings. You only 1 figure 8 wrap to hold it. Wrap tight.

Trim the far side wing.

Select a hackle that is 2x larger than you would normal use for the size your tying. I am tying a #16 here. So i have a size 12 hackle.  Tie in on top of the hook shank. Good side up.


Dub the thorax.  I like to use 1 pinch blue dun and one pinch brown olive super fine. I hand blend it in my hands pulling it and stacking and pulling...... Dub it as tight as possible using as little as possible. When tying a dry fly its good to dub tightly, and use the least amount of wraps possible.

Wind the hackle. Take one complete turn behind the wing, one in front and then one in front of that. IF you are using whiting hackle i would say to do only 2 turns.  Catch the hackle stem with the thread.

Keeping the thread tight, pull the hackle stem back and take a turn over it. This is how you get the atenna on the fly. You can skip this step.  The trout dont mind. It does however give the fly a little more floation and it they look nice. :)

Trim your hackle stem away, and make a nice neat small head. whip finish. Trim the thread

Trim all the hackle from the bottom of the fly. Nice and close. I have had picky trout refuse a fly because of barbs left from the hackle being trimmed. So get it all the way down.
Take the wing and pull it back, dont pull that you cause the zlon to stretch. Once you cut it will spring back causing your wing to be shorter. So gentle pull it back and trim it in line with the back of the bend.

You can once the inital trim is done, model your wing. Its not really necessary, but i like to think it makes a difference.  The fly is complete.

The fly "in the film"  You can see the thread has bleed through. I find this color is a very close match for the bwos in western nj and eastern pa area.

As you might have already thought, this baby is deadly and is a tough one to see in the film when fishing.


Friday, December 2, 2011

The henryville special, with tutorial

The Henryville special is one of my favorite caddis fly imitation. The fly is very versatile in the way it can be fished. Fished dry or fished wet, it produces. The Henryville Special was created by Hiram Brobst and was first fished on the Henryville section of Pennsylvania's Broadhead Creek. Which is a beautiful stream, that unfortunately is posted heavily.  There are many different body ties for the henryville special. The original was red floss, then olive soon replaced the red. Then the floss was sub out for dubbin. The fly can be tied with other colors for the body, from tan to olive, to hell, any color you want.  I like to tie and fish them with olive or some sort of green dub. The other ingredients all have remained the same.  The one factor to tying the fly that I have always seen emphasized is that body hackle should not go beyond the gap. In other words no larger then the gap. I have always stuck to this code and it seems to have served me well.
   In the tutorial i will tie it with my rock worm dubbin blend. I also reinforce the body with a gold wire. My hackle collar is Hen neck hackle. I like the fly to really sit IN the film. I fish them dead drift with occasional twitches. I also fish them drowned or diving. It's a great producer. Lets twist one up.

Materials
Hook-Daiichi 1550- score here 
Thread- MFC 8/0 Black
Body- Utahs High test rock worm blend
Body hackle- Grizzly saddle hackle. Under sized
Rib-Fine gold wire
Collar hackle- Ginger 
Under wing- Woodduck
Wing- Mallard slips

start the thread and go back to the barb.

Tie in the wire

Dub the body. You can taper it if you wish. It doesnt matter much.

Tie in the saddle hackle

Palmer the hackle back.

Catch the hackle with the wire and run the rib up to the hackle tie in point. Tie it off, bend and break it off. Carefully break the hackle  off.

I like to take some velcro and bring out the dubbin into the body. If you want it to float high, skip this step.

Nice and roughed up, Run your fingers along the body to coax the hackle and dubbin back.

Select a small clump of wood duck flank.
Tie in the wood duck flank on top of the shank.  Have it extend past the body by a  little less than half a hook shank.

Select two slips of mallard wing fibers. Have them half the with of the gap.

Have the points, pointing towards one another.

Have the wing extend past the body by a half a hook shank length. Tie them in with the slips tenting the body.

Trim the butts of the mallard, select a ginger hackle. This hackle is from a hen neck. I like to use hen as it will give the fly life in and below the film. If you want a high rider that you can skitter, use a stiff rooster hackle.

Tie in the hackle feather by the butt.  Snip off the stem. Tidey up. Be sure you have a smooth surface to wrap the hackle on. This is a crucial step to getting a nice hackle collar.

Wind the hackle no more than two turns, you want this collar sparse. Tie it off, clip the excess and form the head. Whip finish.

Give the head a good coat of varnish to shine it up.